Friday, July 3, 2015

Love Notes: They say it's her birthday....

Happy Independence Day, and Happy 40th Birthday to my dear, dear, funny friend Amanda!
To honor and celebrate our favorite crazy mom, let's do the logical thing and make her a quilt!
We will use Rita's Economy Block Tutorial (as Amanda is admittedly frugal, and we can use scraps!). 
Use a solid for the center so you can write your name and where you live, or a more personal message if you'd like. Prisma Micron pens work great for writing on fabric, just give it a good press with a hot iron to set the ink!
Our birthday girl loves her some polka dots, so feel free to go dotty, but she isn't such a big fan of purple, so use it sparingly (read:skip it!). Other than that, go bright, go happy, go CRAZY(see what I did there?)!
These finish at 5" so we will need a lot of blocks to make her quilt! That shouldn't be a problem with her many friends and followers! 
Share this info with anyone and everyone that would like to participate! Post your finished blocks on Instagram tagging @crazymomquilts and #lordylordyamandasforty!
Please mail the blocks to me by August 1! Feel free to include a card or note, and I'll deliver them with the finished quilt!
Thanks so much, and sew like the wind, my friends!
Tara Rebman
1020 Sycamore St
Fort Collins, CO 80521


Friday, August 30, 2013

Crazy cute clutch, redux

As many of you noticed, my blog ate my post! My tablet sleeve tutorial somehow got absorbed into the clutch tutorial and no matter how hard we looked, the original tutorial simply disappeared. Suffice it to say, that life has been crazy around here, and I'm sorry I'm just getting it rewritten. If you've ever written a tutorial, then you know they are a time consuming endeavor. Here's take two!


Cut out a 12" x 18" piece of batting, and draw lines across 6.5" and 12.5" from the bottom. Draw arrows as shown, to indicate directionality, because when you fold it, they will all face up!

Use your favorite Quilt-As-you-go technique. Shocker, here, but I recommend my technique as seen in my Craftsy class!

Cut out your lining and interfacing. I use decor-bond by Pellon. Cut one piece 7" x 12" and a second lining piece 12" x 12". Iron your interfacing to both. Cut a pocket and interfacing 8" x 9" and iron your interfacing to that as well.

Make your pocket. I chose to insert a zippered pocket, but you can do a plain pocket if you prefer. Sew it on or sew it in as the case may be, centered, 6" from the top of your 12" x 12" lining piece.

Sew your 7" x 12" lining piece to the bottom, leaving a 3"-4" opening for turning. Use a 1/2" seam here!!

Using your favorite small plate, curve the top corners of both your QAYG panel and your lining.

Now, add a magnetic snap if desired. Place one on your lining, 1 1/2" from the top, centered. Place the second snap at the bottom of your outer panel, 3" from the bottom, centered.

If you want a tab to hang a handle from, cut a 4" by 1" strip, and press it in half lengthwise. Open it up, and press both raw edges into the center crease. Fold on the center crease, and edge stitch closed.

Fold your tab, like so.

Place your tab 5 1/2" from the top of your bag and baste in place.

Place the outer and lining right sides together and sew around the entire thing with a 1/4" seam

Clip your corners and curves.

Turn the clutch right side out through the opening in the lining.

Poke out your corners and smooth out your curves and press well. Sew the opening in the lining shut either by hand or machine. I choose to sew it by machine as it will be on the bottom of your bag, and all of the stitching lines from the QAYG will hide this new stitching line.


Top stitch around the entire panel.

Fold the bottom of your clutch up 6". It's good practice to use your magnetic snap here to determine exactly how deep your bag needs to be. Fasten the snap, and manipulate your clutch so that it lays flat. Sew both side seams 1/4" from the sides. Your lining will be having a little peep show, which I find charming!

Voila! A crazy cute clutch!

Sew like the wind, my friends!

Tara


Friday, July 19, 2013

Custom QAYG Tablet or e-Reader Sleeve: a tutorial

At the request of one of my Craftsy students, here's a simple tutorial for making a zipped sleeve to fit any device.

I made mine to fit my iPad with its case on as this is how I always use it. I installed a zipped pocket to hold the charger for traveling.

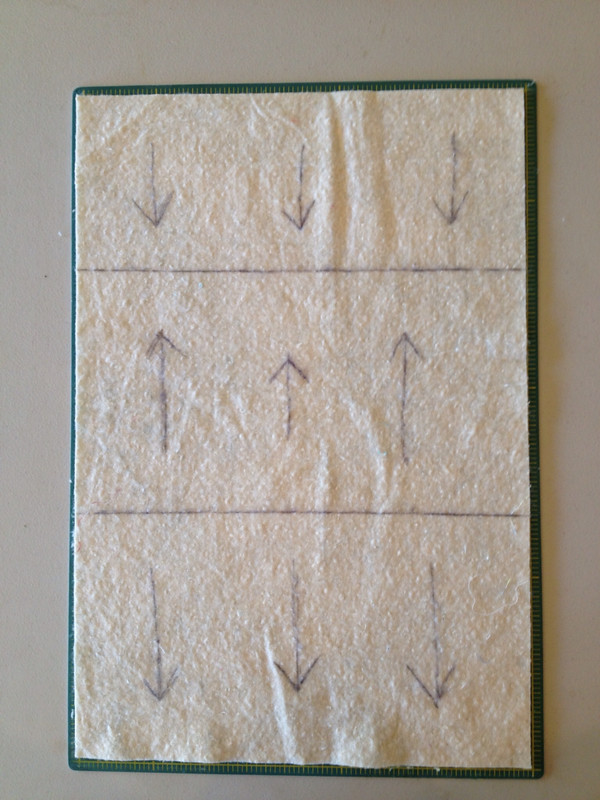
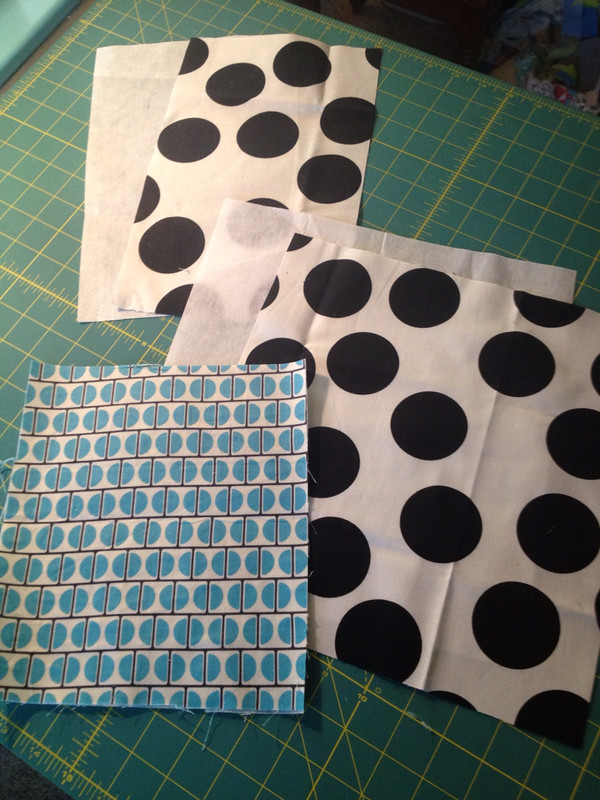
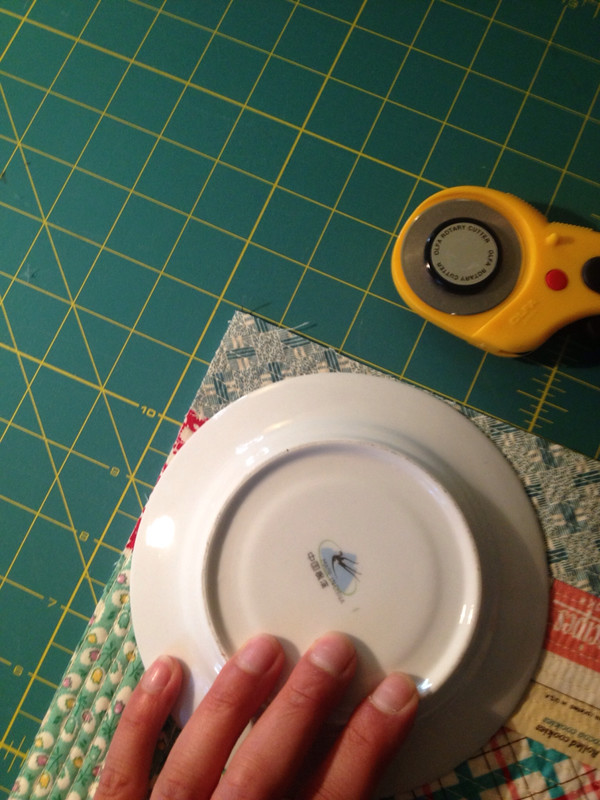
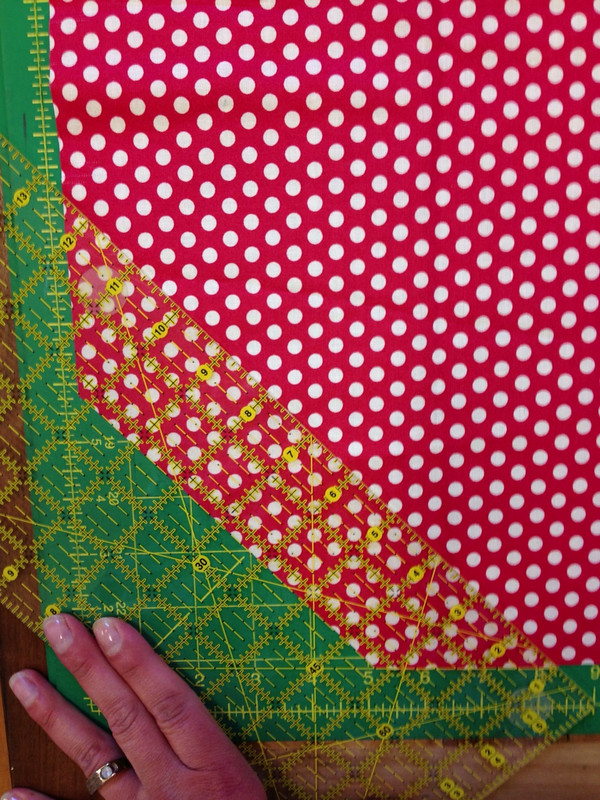
First, measure your device. Cut two pieces of batting and two pieces of utility cloth(also known as drill cloth, I get this light to mid weight canvas from Joann's) TWO inches larger on both sides. For example, my iPad is just under 8" x 10" with it's case on, so I cut my batting and utility cloth to 10" x 12."

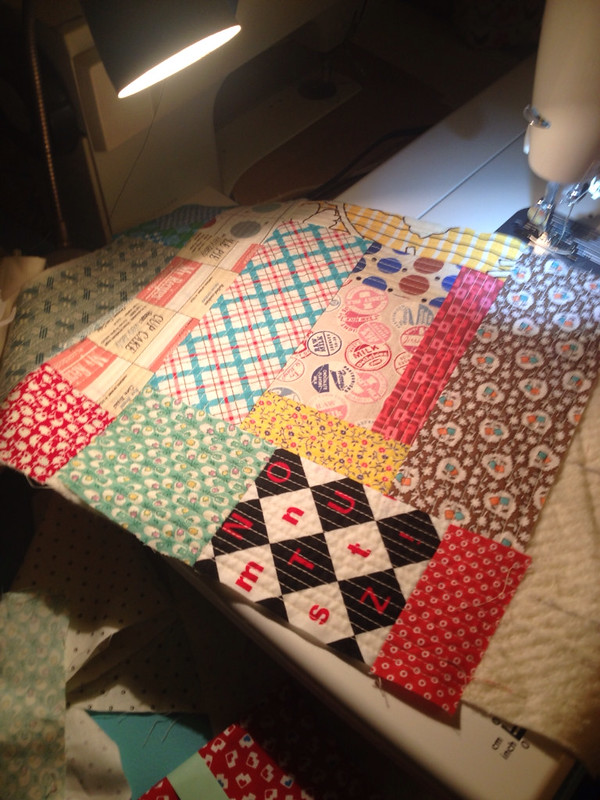
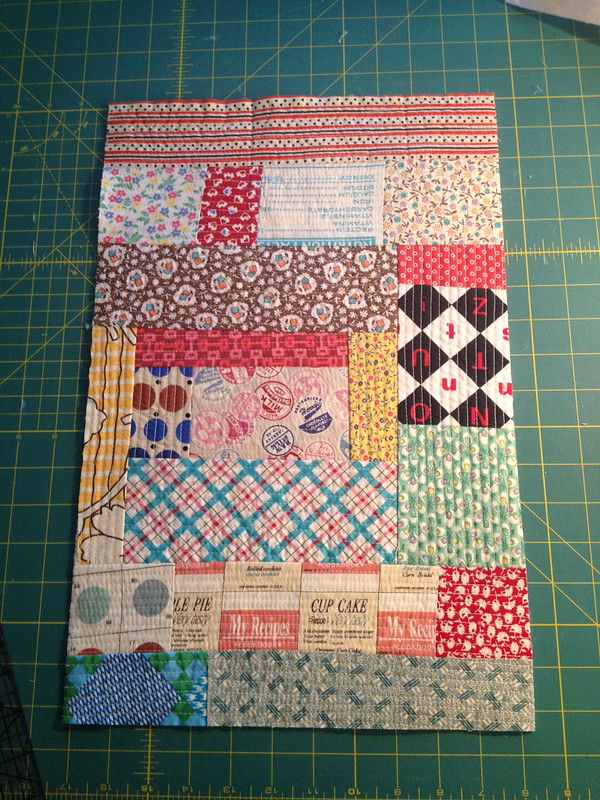
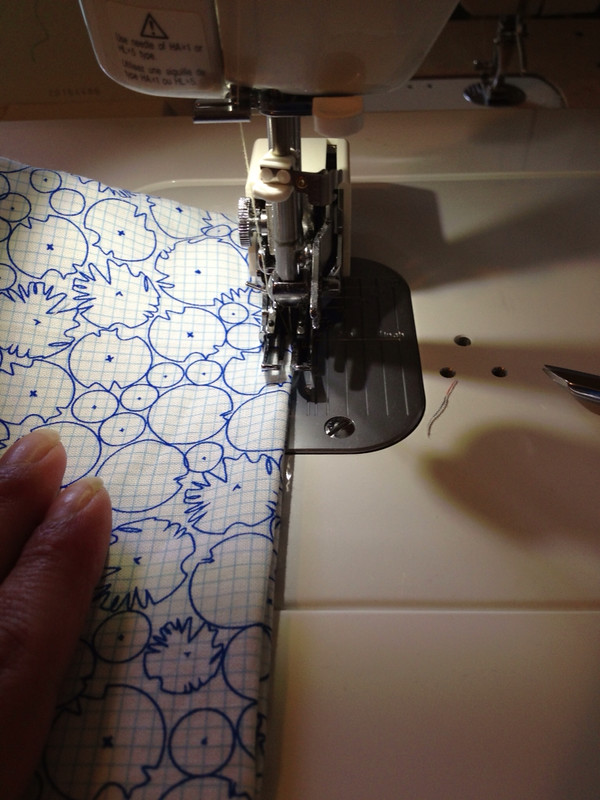
Layer your batting on your utility cloth and use your preferred Quilt-As-You-Go method( I'm partial to the one I teach in my Craftsy class!) to fill in both sides.

Cut a pocket 8.5" x 14" and interface. I mean to say, cut your pocket 2" narrower and 2" longer than your panels. We do want your pocket to fit!

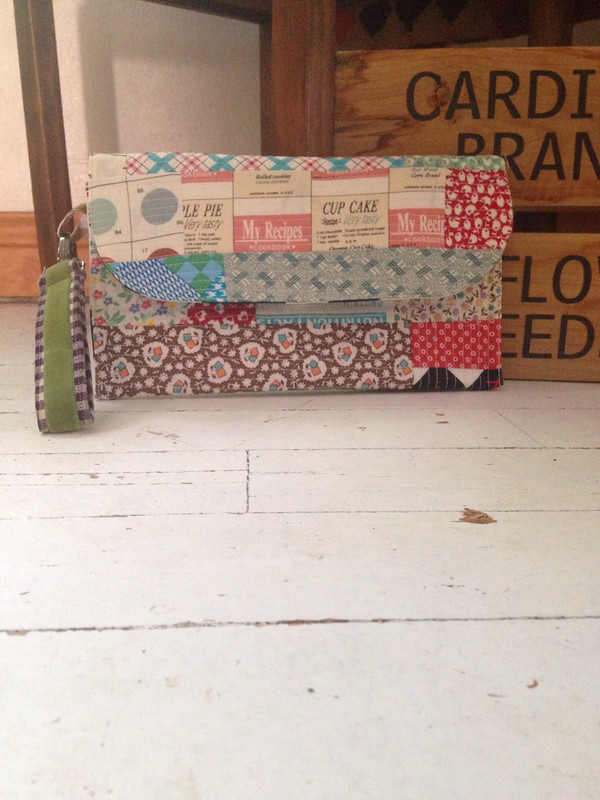
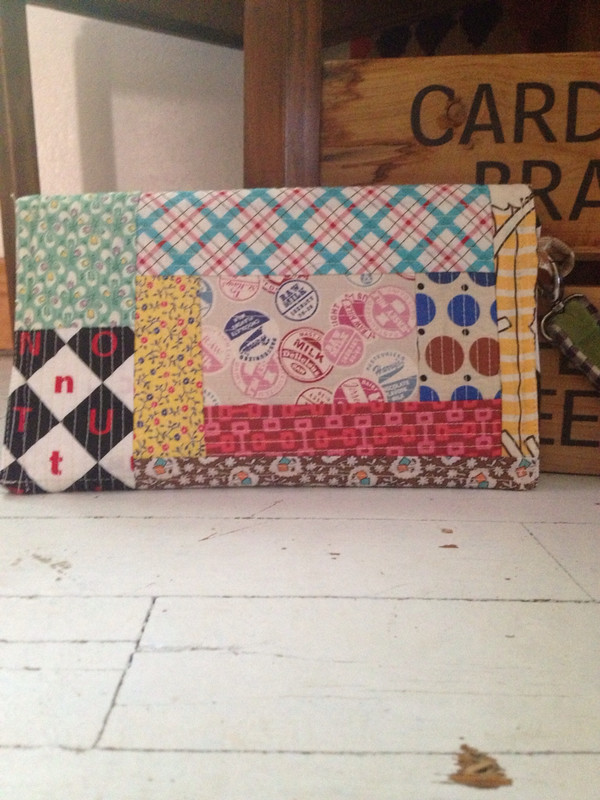
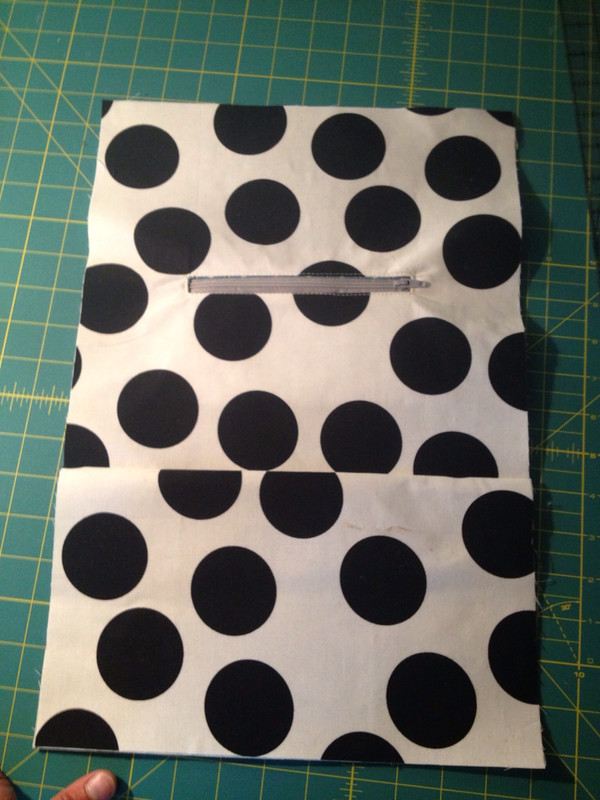
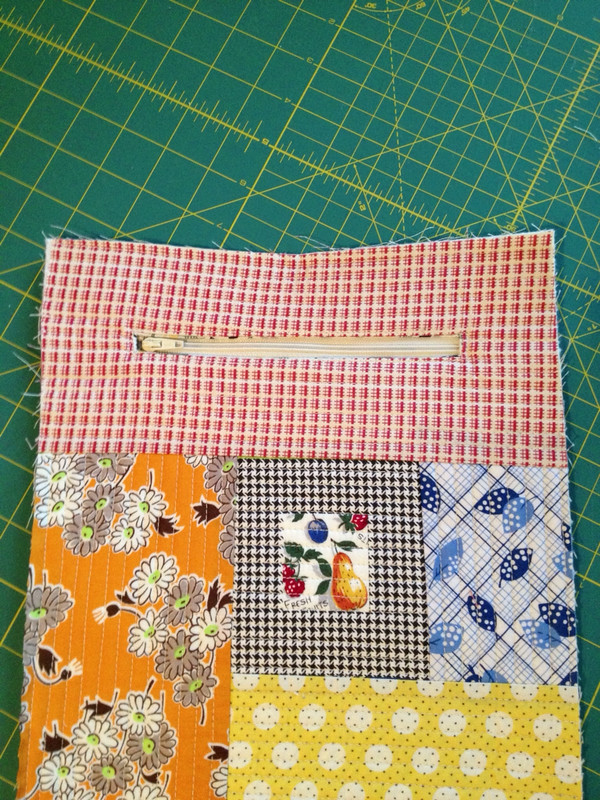
You can install a zipped pocket on the outside, as I did(I teach the technique I use in, you guessed it, my Craftsy class!), or make a basic pocket and sew it to the lining.(I teach that one, too)

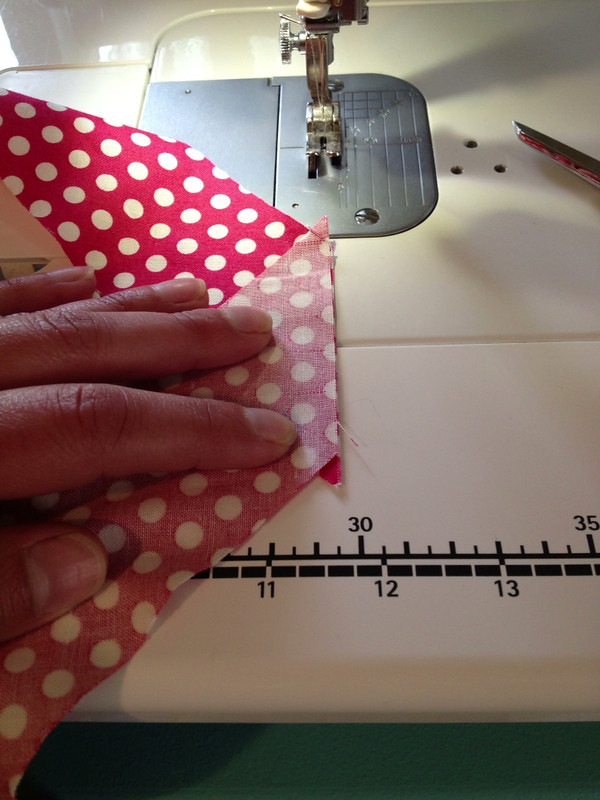
Place one of your panels right side up, and place your zipper(that is longer than the width of your sleeve) right side down starting at the end without your zipper pull. This keeps the zipper pull out of the way while sewing down the zipper.

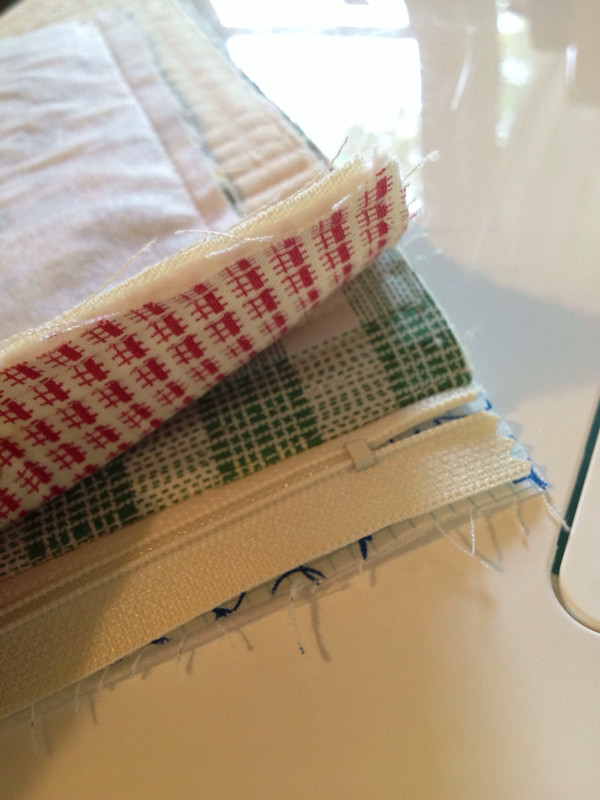
Place a lining piece right side down on top of this, lining up the edges.

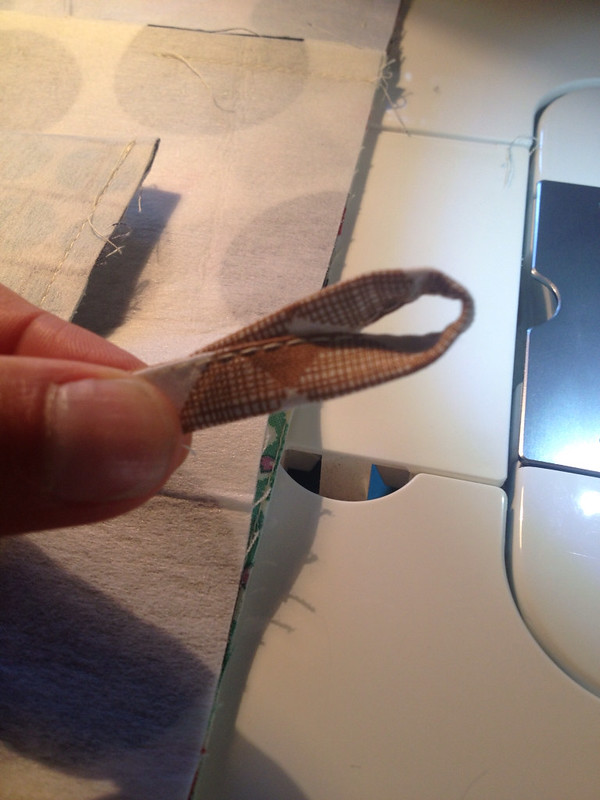
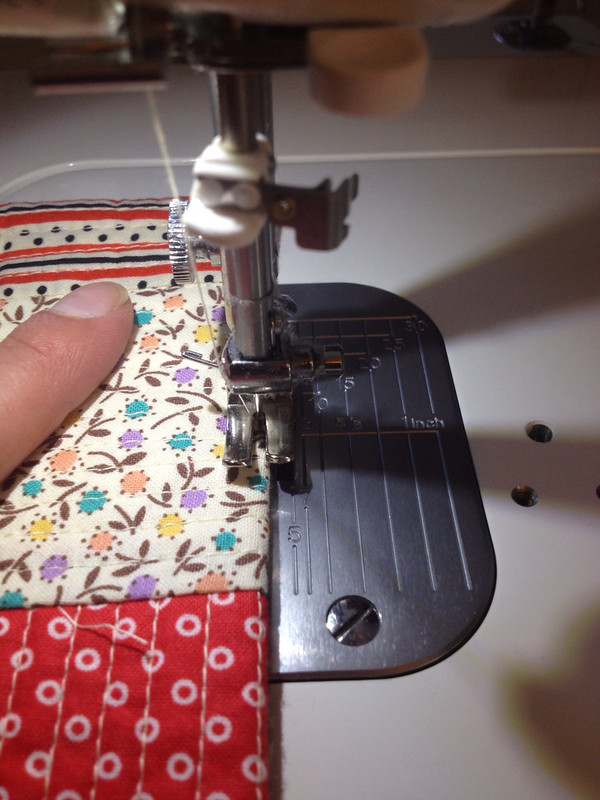
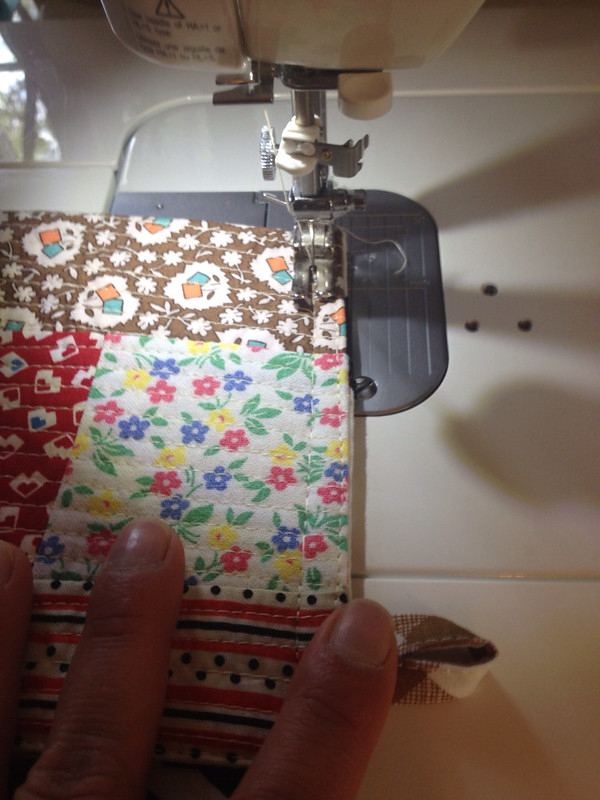
Stitch across with a 1/4" seam, making sure your edges stay aligned. Open this up with your outer panel and lining wrong sides together and, pulling the outer panel and lining tautly, edge stitch along the zipper to keep these away from the zipper teeth and give you a nicely finished edge. You should probably use a zipper foot here. I got lazy.

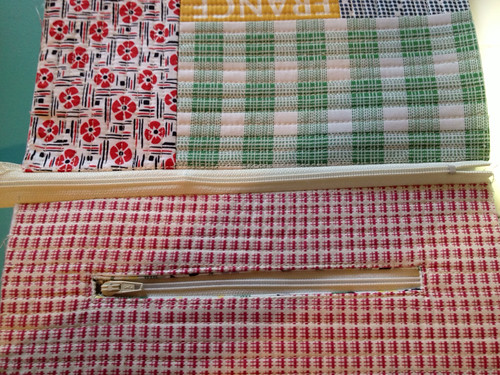
Now, place your second lining piece, right side up. Lay down your panel with the zipper right side up, aligning your edges.

Place the remaining outer panel right side down and sew across as you did before, keeping edges aligned as you go.

Edge stitch as before to finish your zipper installation.

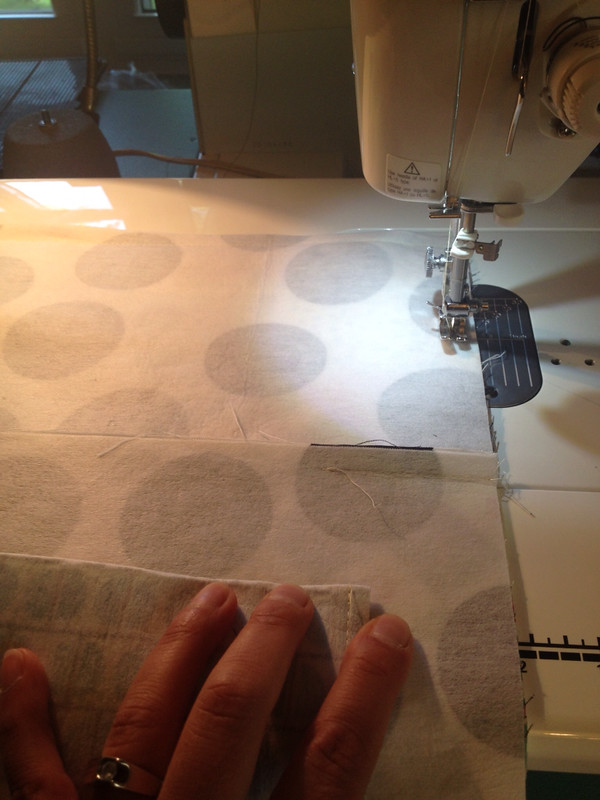
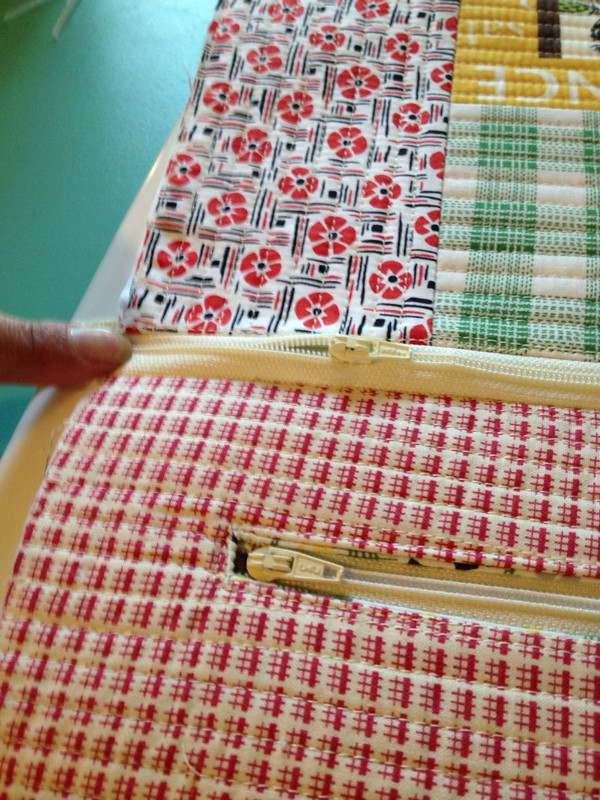
Open the zipper about half way, and baste the zipper closed about 1/4" from the edge. Do you see where? Right where I'm pointing!

Open the zipper all of the way. Now, open your sleeve by placing both the outer panels and lining panels right sides together.

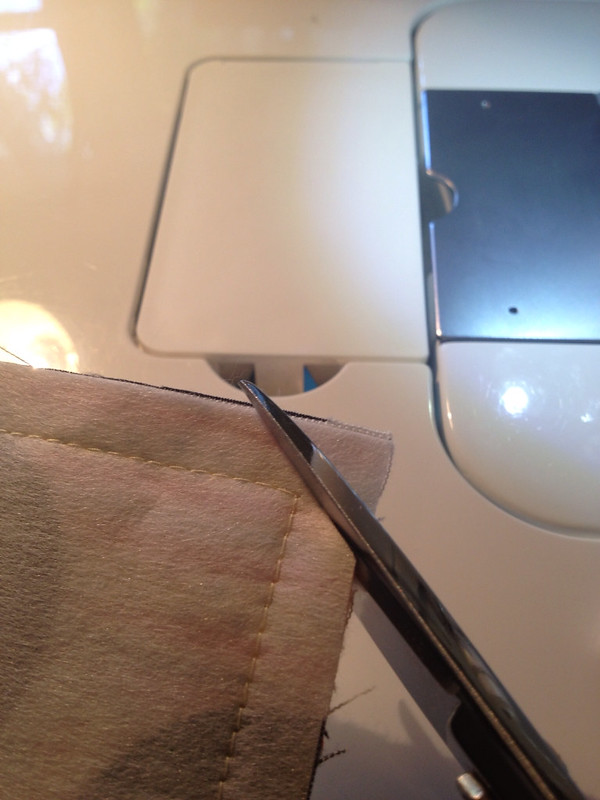
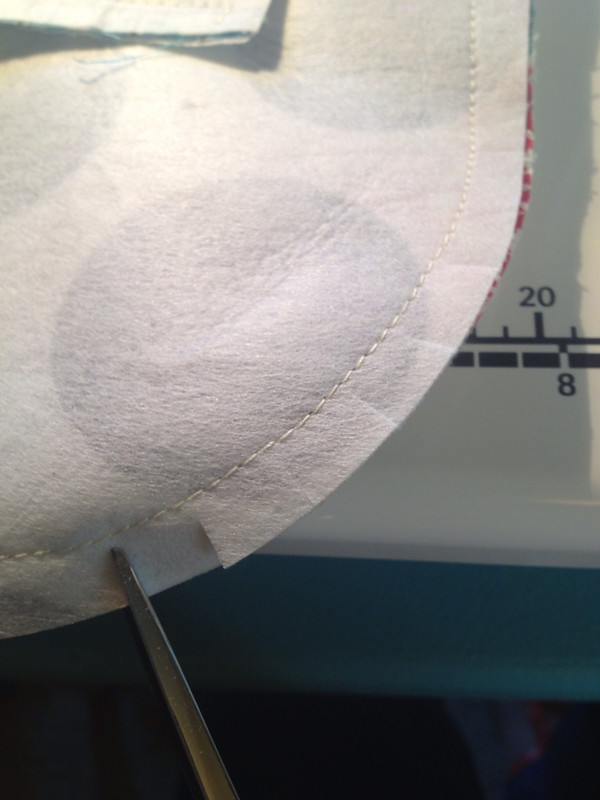
You will now sew around the entire sleeve with a 1/2" seam, leaving an opening for turning at the bottom of your lining. I left a 5" opening, but if you have a smaller device, and are, therefore, making a smaller sleeve, you will leave a smaller opening. Don't leave yourself less than three inches though, or turning will be a bitch.

When you get to the zipper, fold the zipper tape toward the lining for a cleaner corner.

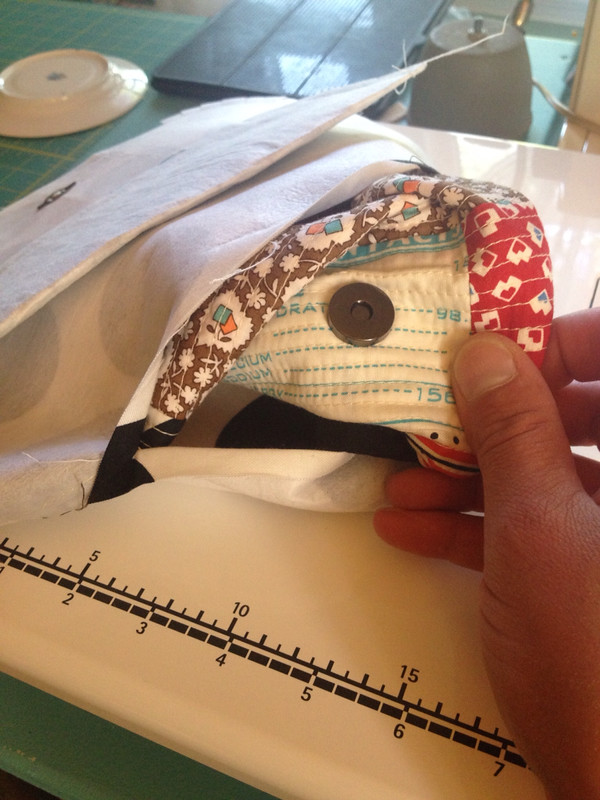
Turn the sleeve through the opening.

Square your sleeve up by gently poking out the corners. Hand or machine sew the opening closed. No one is ever going to see the inside bottom of your sleeve, so why would you hand sew it? Just sayin'

Fold the lining into your sleeve. Et voila!!

There are a myriad of ways to do this. This is how I did it. If you have questions, let me know. I'm pretty good about answering them!

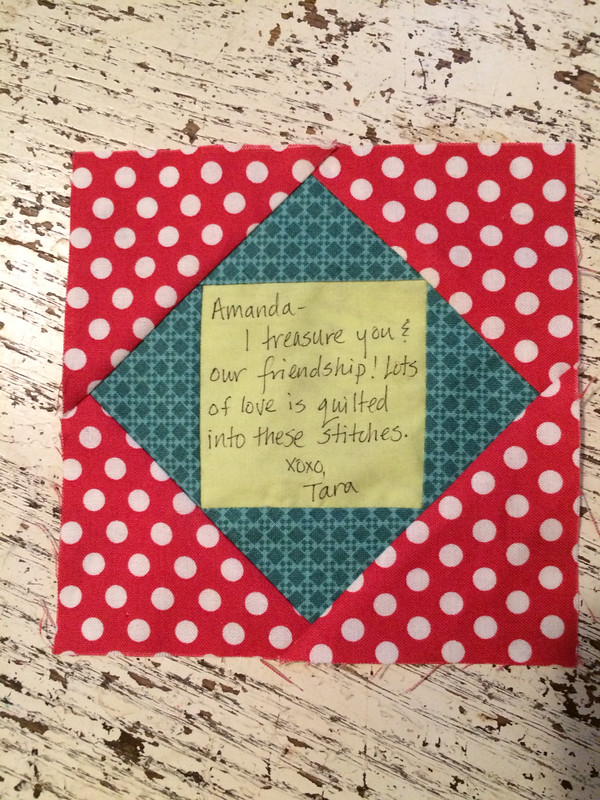
Did I mention my Craftsy class? Quilt-As-You-Go Patchwork Bags with Tara Rebman. That's me!

Craftsy is in the midst of a mega blowout summer sale, and my class will be on sale in the next couple of days! Or you can get 25% off right now with this link! Hope to see you there!


Sew like the wind, my friends!


Wednesday, June 5, 2013

Quilt-As-You-Go Patchwork Bags: a Giveaway!!


Wow!  It's been a whirlwind couple of months for me!  I was approached at QuiltCon in February about the possibility of teaching a patchwork bag class for Craftsy, and after a flurry of work, blood, sweat and many tears(of joy, of course),  it's now live on Craftsy! You can find my class here(this link is good for 25%off)!

The Craftsy platform is an amazing tool for sewists, as you can pause the class at any time, use the 30 second playback to see something again, and ask questions at the point in the video where you have questions, so I have a context for answering!!  I'll be there to answer your questions and help you along the way.  I look forward to seeing what you make and getting your feedback, as well!

I'm also set to giveaway one free class to one of my readers!  


All you have to do to enter is sign up for Craftsy using this link (it's free!).  If you already have a Craftsy account, no problem, you can still enter to win by simply using your login ! (Use the link to enter!)  

The giveaway will be open until Wednesday, June 15, and the winner will automatically have the class delivered to their Craftsy account!


You can also get 25% off Cheryl Arkison's Craftsy class by following this link!  


And here's 25% off Jacquie Gering's Craftsy class!  Love these ladies!


Have a great day!!!

xo, Tara

Friday, May 24, 2013

This Ain't How the Pros Do It: an amateur guide to bias binding

Hi! I'm baaaack! (that just autocorrected to Barack, which made me giggle uncontrollably!) If you've found this via Craftsy, then welcome! If you've been following my little blog for years, then many apologies! You should really follow my Instagram feed @tinkerfrog if you want to see what I've been up to!
And here's the tutorial that has had you all chomping at the bit, lol!
Bias binding has always intimidated me, so I only use it when working with curves. There are some fantastic tutorials out there, like this one and this one. But if those don't fit your needs, here's this lazy girl's mind-blowingly fancy technique!
First, lay your carefully chosen fabric out on your cutting mat. Trim off the selvedge on the side facing you, and square up the left side of your fabric.

Second, line up the 45 degree line on your ruler with the left edge of your fabric.
Make your first cut. I usually cut my strips to 2 1/4", which works well for most quilts either machine or hand bound, as well as the visible binding on my Tinker Tote. For the hidden binding on my Tinker Tote, I cut my strips to 1 1/4". Continue moving your ruler, lining up your fabric edge with the correct marks on your ruler.
The first few will be short, so you decide if you want to relegate those to the scrap pile, or piece them all together. It really depends on the size fabric you began with and how many inches of binding you need! Cut strips until you have enough to bind your project.
Overlap your ends and stitch together.

Fold your binding in half and press well. You are now ready to attach your binding!
Thanks so much for visiting! Sew like the wind!
xo, tara

Sunday, June 24, 2012

Quilting on a Sunday Morning

Gumdrops have always been one of those candies that I'm not sure why they make anymore. Sure, they look great on a gingerbread house at Christmastime, but who eats them? Not me.

But when I was chatting with Amanda, and she asked me to test her gumdrops pattern from Sunday Morning Quilts, of course I said yes. I had seen the quilt in person when I visited in February of last year and it was so appealing!

I jumped right in, with a color scheme that was "current," wanting to put my stamp on it. The pattern was very well written, undoubtedly, but my gumdrops in yellow on grey was a bit lackluster.

See what I mean? The cuteness of the gumdrops are completely lost with this uninspired color palette. What to do, what to do? (it wasn't helped by it's decidedly awkward size of 19" x 44," either). I stuck it on a shelf for a year waiting for inspiration to strike.

Rather than inspiration, it was a push from Amanda to talk about the pattern testers work on her blog that had me pulling it out again. I mean, my sweet friend links to my blog with some frequency, but this felt like it needed a solid effort on my part to participate!

Pillows, I was thinking, to which Amanda replied that it was no surprise. Turns out I'm not a big quilter, but quite the pillower.

They might no longer look like gumdrops, but in yellow I think that's okay. (And as it turns out, gumdrops from Whole Foods, just like to ones pictured on the quilt in the book, are pretty tasty.)


Finished, finally, and just in time to donate to a silent auction to benefit the High Park Fire victims. This wildfire is hitting close to home, it seems that we all know someone whose home was lost, or evacuated. 82,000 acres and still growing. It makes my heart hurt. Please pray for rain, we could really use it here in Colorado!